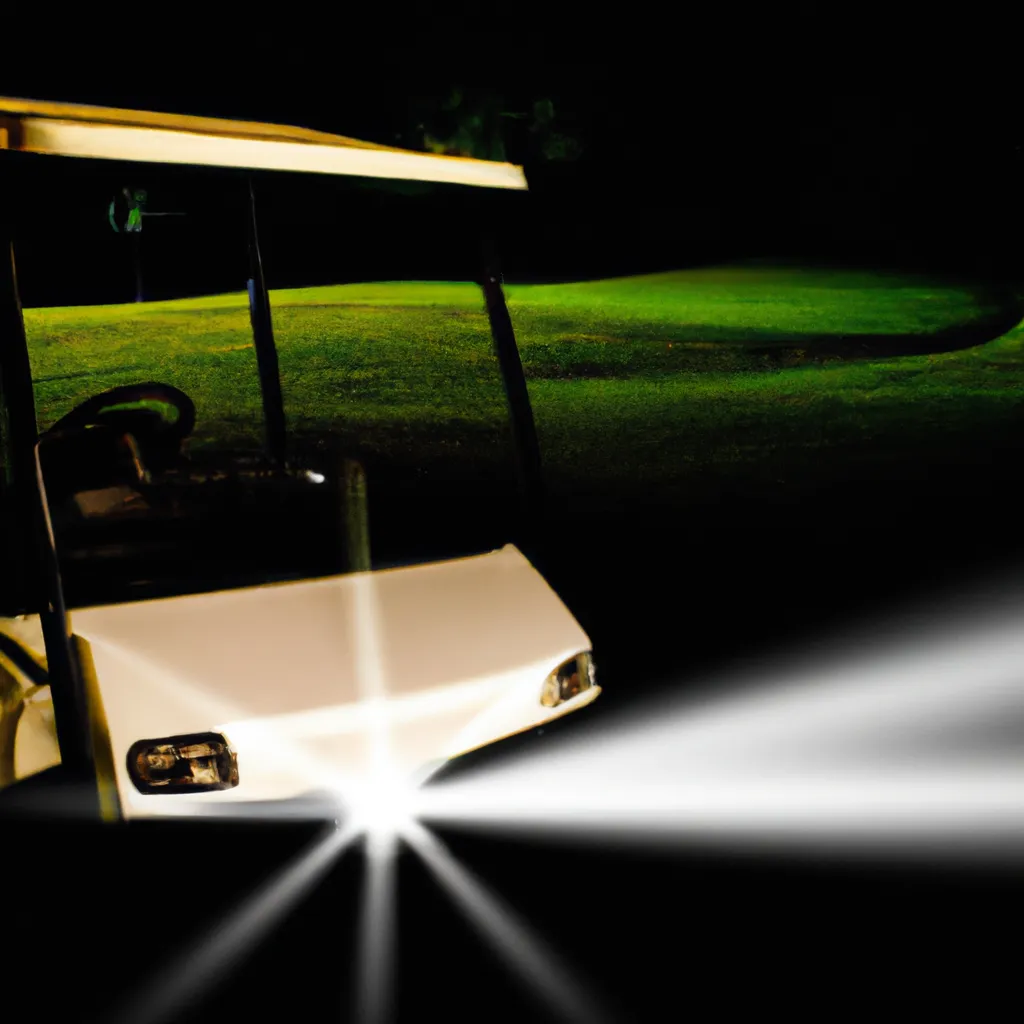
Light Up Your Game: Golf Cart Headlight Replacement
It is no secret that golf carts have become an essential mode of transportation on golf courses. However, their usefulness extends beyond the greens, as they are also popular in parks, retirement communities, and farms.One crucial feature of golf carts is their headlights, which provide added convenience and safety during nighttime drives. However, like any other light bulb, these headlights can burn out and require replacement.
In this article titled ‘Light Up Your Game: Golf Cart Headlight Replacement,’ we will provide a comprehensive guide on how to replace golf cart headlights. We will cover a step-by-step process for replacing both the bulb and the total headlamp, along with tips and tricks for different models and brands.
Whether you are a golf course owner, a retiree, or a farmer, this guide will prove invaluable in ensuring that your golf cart remains functional and safe to use at all times.
Key Takeaways
– Golf cart headlights are common and can be easily replaced by most cart owners.– The replacement process for the bulb or the total headlamp varies slightly between cart models and brands.
– It is important to wear gloves when handling old and new bulbs to prevent damage.
– Finding the proper cart headlights for the model and brand is crucial for optimal results.
Golf Cart Headlights Overview
Despite minor differences in golf cart models and manufacturers, replacing headlights is a straightforward process that owners can handle with proper knowledge and tools. While some may argue that working with electrical components can be dangerous, replacing golf cart headlights can be a simple and rewarding task with the right precautions and understanding.To begin replacing a golf cart headlight bulb, the lens cover must first be removed. Depending on the model, this may involve removing screws or clips. Once the cover is off, the bulb can be removed from its socket and replaced with a new one. It is important to wear gloves when handling old and new bulbs, and to ensure that the new bulb is properly in place before testing the headlights.
In some cases, the entire headlamp assembly may need to be replaced, which involves removing screws and wiring clips. However, with proper preparation and attention to detail, replacing golf cart headlights can be a quick and easy process.
Replacing the Bulb
To replace the bulb in a golf cart headlight, the first step is to remove the lens cover, which may be held down by screws or clips depending on the model of the cart. Care must be taken as some covers may be fragile and break easily. Once the cover is removed, the old bulb must be removed from its socket. The process of removing the bulb may vary depending on the model of the cart. Some bulbs may pop right out with a tug, while others may need to be twisted or turned before they can be removed. New bulbs should be handled with care and gloves should be worn to avoid leaving finger marks or damaging the bulb. Once the new bulb is in place, the cover can be replaced and secured with screws or clips.To make the process of replacing a golf cart headlight bulb easier, the following table provides a visual representation of the steps involved:
| Steps | Description |
|---|---|
| Step 1 | Remove the lens cover using screws or clips. |
| Step 2 | Remove the old bulb from its socket. |
| Step 3 | Handle the new bulb with care and gloves. |
| Step 4 | Insert the new bulb into its holder. |
| Step 5 | Test the bulb by turning on the cart and switching on the headlights. |
| Step 6 | Replace the cover and secure it with screws or clips. |
By following these simple steps, golf cart owners can easily replace the headlights in their carts. It is important to note that the process may vary depending on the model of the cart, but the basic steps remain the same. With some patience and care, replacing a golf cart headlight bulb can be a quick and easy task.
Replacing the Total Headlamp
The process of replacing the total headlamp in a golf cart requires careful preparation and attention to detail to ensure that the cart remains safe and operational. To begin, the cart owner should make sure that they have all of the necessary tools, including a screwdriver, to remove the screws holding the headlamp assembly in place.Once the screws are removed, the owner should carefully pull the headlamp assembly off of the frame as far as it can go, being cautious not to damage any of the wires or other components.
Next, the cart owner should look at the back of the headlamp to find the wiring clips. They should hold the clips and carefully pull them away from the back of the lamp to remove the wires. After the wires are disconnected, the owner can add the new headlight to the cart, following the manufacturer’s instructions.
It is important to take one’s time during this process to avoid damaging any of the cart’s components or putting oneself in danger. With patience and attention to detail, the headlamp replacement process can be completed safely and effectively.
Frequently Asked Questions
What are some common problems that can affect golf cart headlights, and how can they be addressed?
Common issues that can affect golf cart headlights include electrical shorts, problems with lighting coupling, and burnt out bulbs. These problems can be addressed by replacing the bulb or the entire headlamp assembly, depending on the severity of the issue.
Are there any safety precautions that should be taken when replacing golf cart headlights?
Although replacing golf cart headlights is a simple process, it is important to take safety precautions such as wearing gloves and preparing the cart before starting. These measures can prevent accidents and ensure a successful replacement.
Can LED headlights be used as a replacement for traditional bulbs in golf carts?
LED headlights can be used as a replacement for traditional bulbs in golf carts. However, it is important to ensure that the LED headlights are compatible with the specific golf cart model and brand. Consult the manufacturer or a professional for guidance.
Are there any specific tools or equipment required for replacing golf cart headlights?
Replacing golf cart headlights requires basic tools such as a screwdriver, gloves, and a new bulb or headlamp assembly. The process differs between models but is generally straightforward. No specialized equipment is necessary.
Can headlights be added to a golf cart that doesn’t currently have them installed? If so, how?
Headlights can be added to a golf cart without them installed by purchasing a headlight kit that matches the cart’s make and model. The kit will include all necessary wiring and hardware for installation.
