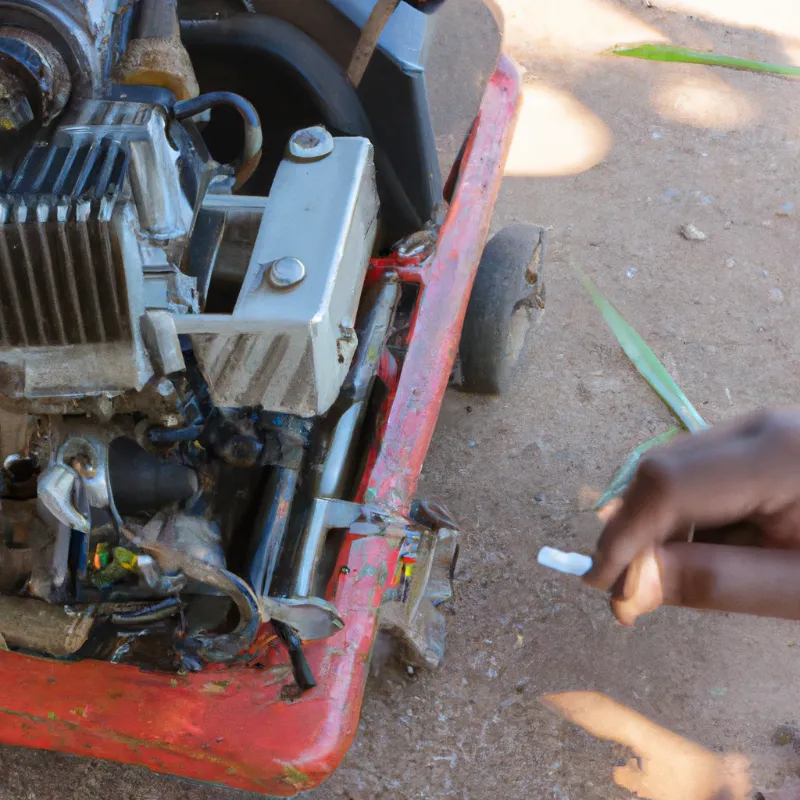
How To Remove Adjust Golf Cart Governor
Are you tired of being limited by your golf cart’s speed? Do you want to unleash its full potential and leave your friends in the dust during those weekend rounds? Well, it’s time to remove or adjust your golf cart governor!This device is responsible for limiting the maximum speed of your golf cart, but with a few steps, you can get rid of it and enjoy a faster ride. Don’t worry; removing or adjusting the governor is not as complicated as it sounds. With some basic tools and our step-by-step guide, you’ll be able to complete this task in no time.
Plus, imagine the envy on your friends’ faces when they see how fast your golf cart can go! So let’s dive into understanding what a governor does and how to remove or adjust it.
Understanding the Governor’s Function
You need to understand how the governor works if you want to get the most out of your golf cart.The governor is a device that controls the speed of your golf cart by limiting its top speed. It does this by regulating the amount of fuel or air that flows into the engine, depending on the type of governor in your golf cart.
There are two types of governors: mechanical and electronic. Mechanical governors use springs and flyweights to regulate fuel flow, while electronic governors use sensors and microprocessors.
Regardless of which type you have, they both work similarly by adjusting throttle position to limit the maximum speed. Understanding how they work will help you effectively remove or adjust them to increase your golf cart’s speed beyond its current limits.
Identifying the Governor on Your Golf Cart
Now that you’ve familiarized yourself with the inner workings of your golf cart, it’s time to identify the component that regulates its top speed. This is referred to as the governor, and it works by controlling how much fuel or air flows into the engine. Without this device, your golf cart would be prone to overexertion and potential damage.To locate the governor on your golf cart, follow these simple steps:
– Look for a small box-like structure near the carburetor or throttle linkage.
– Check if there are any wires connected to this box.
If you’re still unsure, consult your golf cart’s manual or contact a professional for assistance.
Once you’ve located the governor, you can proceed with removing it if you so desire. However, make sure to weigh the pros and cons before doing so as tampering with this device may void any warranties on your vehicle.
Tools Needed for Removing or Adjusting the Governor
To tackle the task of removing or adjusting your golf cart’s governor, you’ll need a set of tools to aid in the process.First and foremost, you’ll need a wrench set that can fit the bolts and nuts on your golf cart’s engine. A socket set is also highly recommended as it provides greater torque and precision when unscrewing bolts.
In addition to wrenches and sockets, having pliers and wire cutters can be useful for disconnecting wires and cables from the governor.
You may also need a screwdriver set to pry off any covers or panels that are obstructing access to the governor.
Once you have all these tools at hand, you’re ready to start working on removing or adjusting your golf cart’s governor with ease!
Step-by-Step Guide to Removing or Adjusting the Governor
As you dive into this step-by-step guide, get ready to learn the ins and outs of taking control of your engine’s speed. Removing or adjusting the governor on a golf cart can seem daunting at first, but with the right tools and guidance, you’ll be able to do it in no time.Firstly, locate the governor of your golf cart which is usually located on the side or top of the engine. Use a wrench to remove any bolts or screws holding it in place and detach any cables connected to it.
If you’re adjusting rather than removing the governor, loosen its mounting bolts to adjust its position before tightening them again. Once done with either process, reconnect all cables and test that everything is working accordingly by starting up your golf cart and testing its acceleration.
With these simple steps, you should have successfully gained control over your engine’s speed!
Safety Precautions to Follow During the Process
Before proceeding with the process of removing or adjusting your golf cart governor, it’s important to take all necessary safety precautions to ensure that you and your engine remain safe.First and foremost, make sure that the golf cart is turned off and that the key is removed from the ignition. This will prevent any accidental starts or other mishaps.
Next, be sure to wear gloves and eye protection during the removal or adjustment process. Gloves will help protect your hands from any sharp edges or hot metal parts, while eye protection will keep debris or flying parts out of your eyes.
Finally, always work in a well-ventilated area to avoid inhaling any harmful fumes produced by the engine.
By following these simple safety precautions, you can help ensure a smooth and accident-free experience when removing or adjusting your golf cart governor.
Conclusion
Congratulations! You’ve successfully learned how to remove or adjust the governor on your golf cart. By understanding the function of the governor and identifying its location, you can use simple tools like a wrench and pliers to remove or adjust it.Remember to always follow safety precautions such as wearing gloves, disconnecting the battery, and working in a well-ventilated area.
With these steps in mind, you can safely modify your golf cart’s speed and performance to better suit your needs. Now go out there and enjoy your newly modified golf cart with confidence knowing that you’ve taken the necessary steps to make sure it runs smoothly and efficiently.
Happy driving!


