How To Test Install A Golf Cart Ignition Switch
You might think that testing and installing a golf cart ignition switch is complicated and difficult, but it’s actually easier than you think. Even if you have no prior experience with electrical systems or golf carts, this guide will walk you through the process step-by-step.Now, we know what you’re thinking: ‘I’m not a mechanic, why would I bother learning how to test and install an ignition switch?’
Well, here’s the thing: owning a golf cart means taking care of it just like any other vehicle. And when your ignition switch fails, it could leave you stranded on the course or unable to start your cart at all.
By learning how to test and install an ignition switch yourself, you can save time and money on repairs and ensure that your golf cart is always ready for action.
So let’s get started!
Tools Needed for Testing and Installation
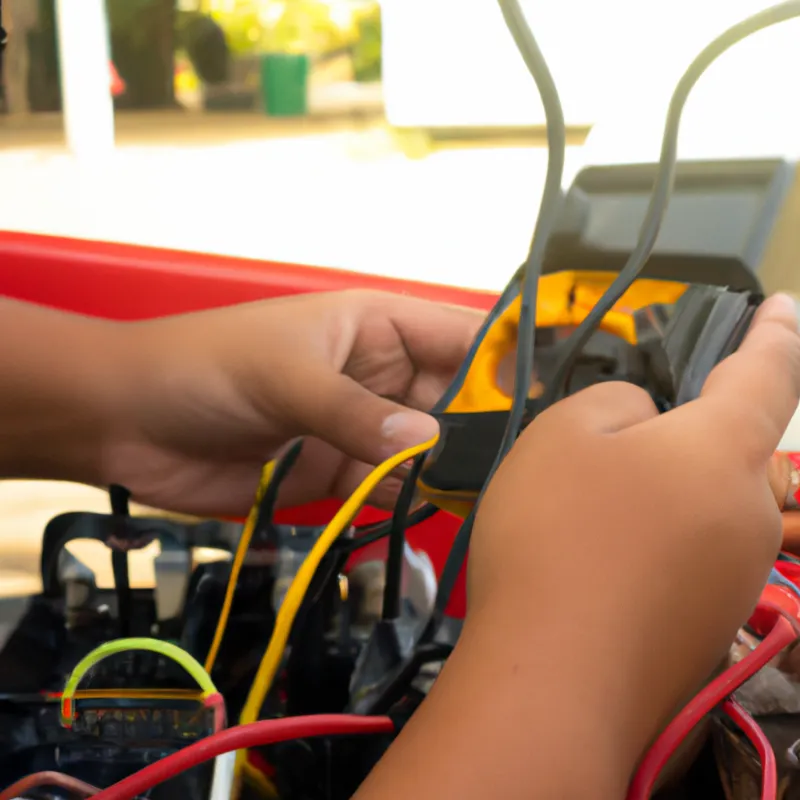
You’ll need a few tools to get this job done right, so make sure you’ve got everything on hand before you start.First, you’ll need a voltmeter or multimeter. This tool will help you check if there is power flowing through the ignition switch and determine if it’s working properly. A test light can also be used instead of a voltmeter.
Next, you’ll need some basic hand tools like screwdrivers, pliers, and wrenches. These tools are necessary for removing the old ignition switch and installing the new one. It’s important to have the right size and type of screwdriver or wrench for your specific golf cart model to avoid damaging any parts during installation.
With these tools in your arsenal, you’re ready to tackle testing and installing your golf cart ignition switch!
Steps to Test Your Golf Cart Ignition Switch
To ensure your golf cart is working correctly, it’s crucial to check the ignition switch regularly. Here are the steps you need to follow when testing your golf cart ignition switch:First, turn off your golf cart and remove the key from the ignition.
Then locate the wiring harness that connects to the back of the ignition switch. Check for any signs of wear or tear on both ends of this harness; if you notice any frayed wires or corroded connections, replace them immediately.
Next, use a multimeter to test for continuity between each pair of terminals on the back of your ignition switch. If there is no continuity between two adjacent terminals, it means that one or more internal contacts have failed and need replacing.
In conclusion, following these simple steps will help you detect any issues with your golf cart’s ignition switch before they become bigger problems. Don’t hesitate to replace faulty components as soon as possible to ensure a safe and enjoyable ride every time!
Signs of a Faulty Ignition Switch
If your golf cart’s dashboard lights flicker or don’t turn on at all, it might be a sign of a faulty ignition switch.Another sign is when you turn the key and nothing happens, or if you hear strange noises coming from the engine.
These symptoms are usually caused by a worn-out or damaged switch that needs to be replaced.
Don’t ignore these warning signs! A faulty ignition switch can lead to other problems like the battery draining, spark plugs not firing correctly, or even the engine failing to start altogether.
If you suspect your golf cart has a faulty ignition switch, take action right away and have it tested and replaced if necessary.
It’s better to be safe than sorry and avoid costly repairs down the road.
How to Replace Your Golf Cart Ignition Switch
Get ready to change out that faulty piece of equipment and get your golf cart revved up again with a brand new switch – it’s time to roll up your sleeves and replace it yourself!First things first, make sure your golf cart is turned off and the key is removed from the ignition. Then, locate the old ignition switch on your golf cart. It should be near the steering wheel or dashboard.
Next, remove any panels or covers that may be blocking access to the switch. Once you have access, disconnect any wires attached to the old switch. Take note of where each wire was connected as you will need to reconnect them in their proper place when installing the new ignition switch.
Remove the old switch and install the new one in its place by connecting all wires back into their correct slots. Finally, test out your new ignition switch by turning on your golf cart – if everything works properly, then you’re good to go!
Common Mistakes to Avoid During Installation
You don’t want to mess up your DIY project, so make sure you avoid these common mistakes when replacing your faulty golf cart ignition switch in order to get your ride back on the road.First and foremost, make sure you disconnect the battery before starting any work on the electrical system. Failure to do so could result in electric shock or even a short circuit that can damage other components of your golf cart.
In addition, here are four other mistakes to avoid during installation:
1. Not properly labeling wires: Take pictures or label each wire with its corresponding location before removing them from the old ignition switch.
2. Forgetting to tighten connections: Double-check that all connections are secure and tight before reconnecting the battery.
3. Using incorrect tools: Make sure you have all necessary tools ahead of time and use them appropriately.
4. Rushing through the job: Take your time and follow instructions carefully to ensure proper installation and prevent further issues down the line.
Remember, safety should always be your top priority when working with any electrical component of a vehicle!
Conclusion
In conclusion, testing and installing a golf cart ignition switch can be done with the right tools and steps. Remember to use caution when dealing with electrical components and always disconnect the battery before starting any work.If you notice signs of a faulty ignition switch, such as difficulty starting your cart or flickering lights, it’s important to address the issue promptly. As the adage goes, “an ounce of prevention is worth a pound of cure.”
Taking the time to test and replace your ignition switch can save you from costly repairs down the road. By following these simple steps and avoiding common mistakes during installation, you’ll have your golf cart up and running smoothly in no time.
Happy driving!