Rev Up Your Golf Cart: Test & Install Ignition Switch!
Are you having trouble starting or operating your golf cart smoothly? Do you feel frustrated every time you hit the golf course because your cart just won’t cooperate? Don’t worry, you’re not alone. Many golf cart owners experience ignition switch problems, which can be a major hindrance to their game.Fortunately, there is a simple solution to this problem: testing and installing a new ignition switch. In this article, we’ll guide you through the process of testing and installing an ignition switch on three of the most popular golf cart brands: EZGO, Club Car, and Yamaha.
We’ll provide you with important safety precautions and tips to ensure a successful installation. By the end of this article, you’ll have the knowledge and confidence to rev up your golf cart and enjoy a smooth ride on the greens.
Key Takeaways
– The ignition switch is crucial for starting and operating a golf cart smoothly, and issues with it can cause the cart to fail to start or trigger riding issues.– Each golf cart manufacturer has their own style and design for ignition switches, but the basic design is simple and similar among different brands.
– Testing and replacing the ignition switch can be done by the average person with the right tools and precautions, but safety precautions should be taken when handling the battery and wires.
– It is important to find the correct ignition switch based on the model number to avoid issues with the cart, and following the proper process for strong electrical connection is crucial.
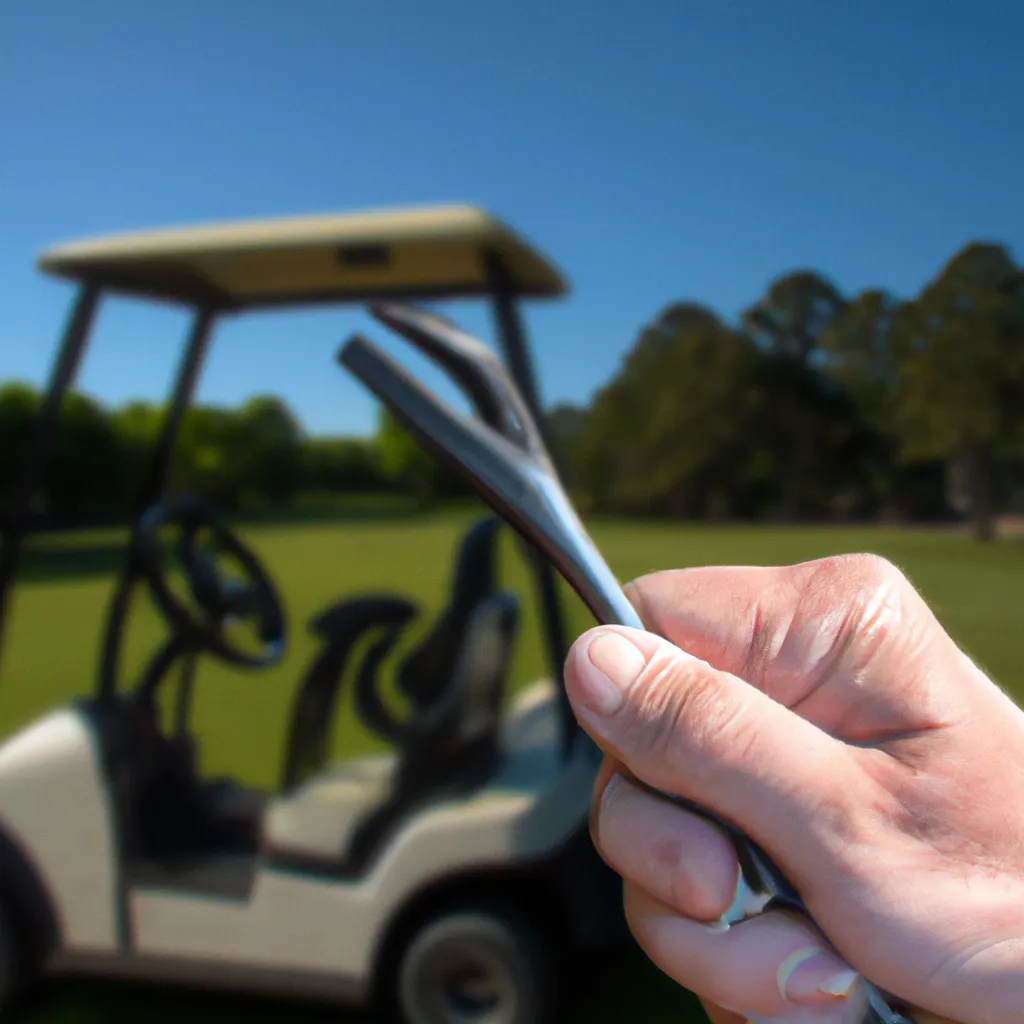
Why Ignition Switch Matters
Did you know that the ignition switch is one of the most important parts of your golf cart? It’s what allows you to start your cart and operate it smoothly.A faulty ignition switch can cause your cart to fail to start, or even cause issues while you’re riding it. This is why it’s crucial to understand why the ignition switch matters and to make sure it’s working properly.
Without a functioning ignition switch, your golf cart won’t start. This can be frustrating, especially if you’re out on the course and need to get moving.
Additionally, a faulty ignition switch can cause other issues while you’re riding your cart, making it difficult to operate and potentially causing damage to your cart. That’s why it’s important to take care of your ignition switch and make sure it’s in good working order.
By doing so, you’ll ensure that your golf cart is always ready to go when you are.
Testing and Replacing Process
To test and replace the ignition switch, you’ll need to follow specific steps based on the manufacturer of your golf cart. Here are some general steps to help you get started:– First, identify the model number of your golf cart to ensure you purchase the correct ignition switch.
– Next, follow the testing instructions for your specific manufacturer to determine if your ignition switch needs to be replaced.
If the switch needs to be replaced, carefully remove the old switch and install the new one according to the instructions for your specific manufacturer.
It’s important to take precautions when working with electricity, so remember to disconnect the battery before beginning work and wear gloves and goggles for added safety. If you’re unsure about the installation process, it’s a good idea to consult with a specialist.
By properly testing and replacing your golf cart’s ignition switch, you can ensure smooth and reliable operation of your cart.
Installation Precautions
When installing the ignition switch on your golf cart, safety precautions should be taken to avoid any accidents. Always wear gloves and goggles when handling the battery and wires to prevent shocks and damage.It’s also important to disconnect the battery before beginning any work to reduce the risk of electrical shock. Furthermore, make sure to follow the proper process for a strong electrical connection. Keep the power turned off until the switch is properly hooked up, and be cautious to avoid any shocks or damage to the cart during installation.
Remember, if you’re uncertain about the installation process, it’s always best to talk to a specialist to avoid any potential issues. By following these precautions, you can safely and successfully install the ignition switch on your golf cart.
Frequently Asked Questions
How do I know if my golf cart’s ignition switch needs to be replaced?
If your golf cart doesn’t start or has riding issues, it may be time to replace the ignition switch. Check for voltage with a probe meter, and if there’s a lack of charge, replace the switch.
Can I install any ignition switch on my golf cart or do I need to find a specific one?
You need to find a specific ignition switch for your golf cart. Each manufacturer has their own design and style, so it’s important to get the right one. Incorrect installation can cause issues and damage to your cart.
What should I do if I encounter issues during the testing or installation process?
Encountering issues during testing or installation can be frustrating, but don’t panic. Double-check the instructions and wiring, and if needed, consult a specialist. Remember to prioritize safety precautions and take your time to ensure a successful installation.
Is it necessary to have prior electrical experience to install a golf cart ignition switch?
No, prior electrical experience is not necessary to install a golf cart ignition switch. With the right tools and precautions, the average person can replace and install a new switch. Follow instructions carefully and seek help if unsure.
How often should I check my golf cart’s ignition switch for potential problems?
Checking your golf cart’s ignition switch regularly is crucial to avoid potential problems. It is recommended to inspect it every few months or after any electrical work. Ignition switch issues can cause starting problems or riding issues.
