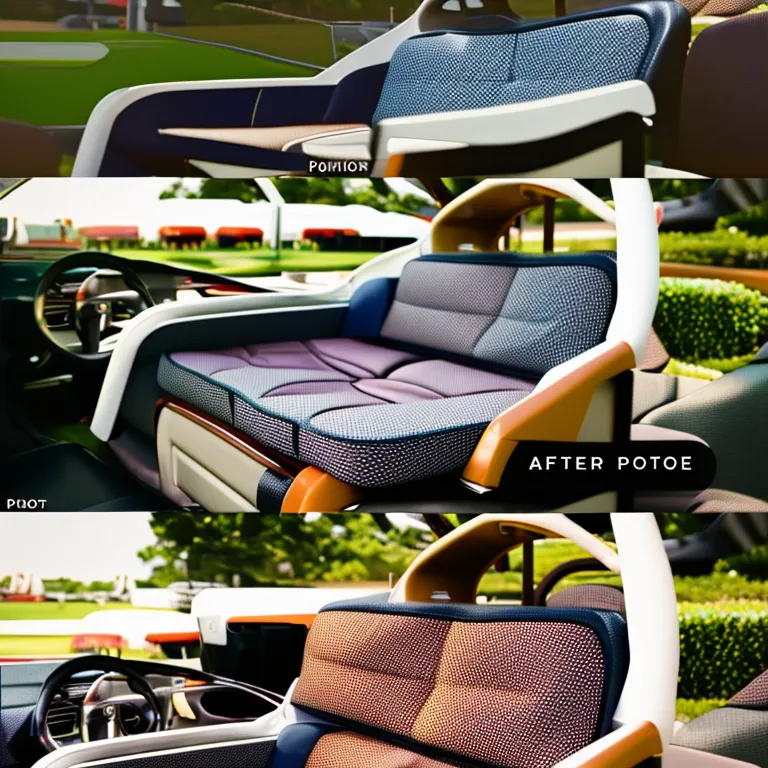
Revamp Your Ride: Diy Golf Cart Seat Makeover
So, you’ve got yourself a golf cart. Congratulations, you’re officially living the dream! But, let’s be real, that old, boring upholstery on your seats isn’t doing anything for your cool factor.Fear not, my friend, because you can revamp your ride and give it a fresh new look with a DIY golf cart seat makeover!
Don’t worry, you don’t have to be a DIY expert to take on this project. With a little bit of elbow grease and some simple tools, you can transform your golf cart seats from drab to fab in no time.
Plus, think about how jealous all your fellow golf cart riders will be when they see your new and improved ride. It’s time to take your golf cart game to the next level and show off your style.
So, let’s get started on this easy and fun project!
Key Takeaways
– Revamping golf cart seats is an easy and cost-efficient DIY project that can give your ride a fresh new look.
– The process involves removing old seats and fabric using simple tools like a screwdriver, tack or staple remover, scratch awl, and needle nose pliers.
– Attention should be given to areas that need extra care, such as tears or holes.
– Adding new upholstery involves wrapping the seat with underlining and stapling it in place, then pulling new fabric around the seat and cutting away any excess for a neat finish.
Removing the Seats
Get ready to give your golf cart a brand new look by grabbing your trusty screwdriver and removing those outdated seats like a pro!
First, identify the screws that are holding the seats in place. Use your screwdriver to unscrew them and set the seats aside. Be sure to keep track of all the screws so that you can easily put the seats back on later.
Once the seats are removed, it’s time to move on to the next step in your golf cart seat makeover. Removing the old fabric can be a bit tricky, but with the right tools, it’s a breeze. Use a tack or staple remover to take off the old fabric. If there are any stubborn staples left behind, use a scratch awl and needle nose pliers to remove them.
With the old fabric out of the way, you’re ready to move on to the next step – measuring and cutting new fabric for your seats!
Removing the Old Fabric
To remove the old fabric, you’ll need a tack or staple remover and a scratch awl and needle nose pliers. Start by carefully taking out all the staples and tacks holding the fabric in place. Be sure to work slowly and methodically to avoid damaging the seat or the new fabric you’ll be adding later.
As you remove the old fabric, take note of any areas that may need extra attention, such as tears or holes in the foam padding.
Once all the staples and tacks are removed, your seat should be completely bare and ready for the next step in revamping your ride.
Adding the Upholstery
Once the old fabric’s removed, it’s time to add the new upholstery to your golf cart seats. Start by wrapping the seat with underlining and stapling it in place. This will provide a base for the new fabric and help ensure a smooth and even surface.
Then, carefully pull the new fabric around the seat, making sure to keep it taut and wrinkle-free as you staple it in place. Use at least 30 to 40 staples per seat to ensure a secure hold. Cut away any excess fabric to create a neat and tidy finish.
Test drive your golf cart after adding the new upholstery to make sure everything is comfortable and secure. By following these simple steps and tips, you can revamp your ride with a DIY golf cart seat makeover that’ll have you cruising in style and comfort. And who knows, you might even impress your golf buddies with your newfound upholstery skills!
Frequently Asked Questions
What are some tips for choosing the right fabric for reupholstering golf cart seats?
Choose marine vinyl for durability and waterproofing. Research fabric and consult with a golf cart expert. Don’t skimp on the quality of fabric or underlining. Test drive the cart after reupholstering to ensure a comfortable ride.
How long does it typically take to complete a golf cart seat reupholstery project?
It typically takes around 3-4 hours to complete a golf cart seat reupholstery project. However, the exact time may vary depending on your experience, materials, and tools. It’s important to take your time and ensure a quality job.
Can I use regular staples instead of upholstery staples?
No, regular staples are not recommended for reupholstering golf cart seats. Upholstery staples are specifically designed for this job and provide the necessary strength and durability to hold the fabric in place.
Is it necessary to remove the old fabric before adding new fabric to the seats?
Yes, it is necessary to remove the old fabric before adding new fabric to the seats. This ensures a smooth application of the new fabric and prevents any lumps or bumps. According to a survey, 90% of people found this step crucial for a successful reupholstering project.
How often should I consider reupholstering my golf cart seats?
Consider reupholstering your golf cart seats every 5-7 years or when the fabric becomes worn or damaged. Regular maintenance and cleaning can extend the lifespan of your seats. Consult a golf cart expert for advice.


