Stay Safe On The Greens: Install A Golf Cart Kill Switch
Are you a frequent golfer who uses a golf cart to navigate the greens? If so, it’s important to ensure that your cart is equipped with the proper safety features to prevent accidents and damage.One essential safety feature that every golf cart owner should consider is a cut-power kill switch. A kill switch can prevent accidents caused by short circuits or power surges that can occur while driving your golf cart.
While it isn’t a standard feature on most golf carts, it can be easily installed with some basic electrical work and the right tools. In this article, we’ll provide you with a step-by-step guide on how to install a golf cart cut-power kill switch and discuss the importance of proper installation and regular maintenance.
By taking the time to equip your golf cart with a kill switch, you’ll be taking an important step towards ensuring your safety on the greens.
Key Takeaways
– A cut-power kill switch may be necessary for emergency situations in golf carts and can prevent damage from short circuits or power surges.– The installation of a kill switch requires specific tools and expertise, and should be done carefully and with caution.
– Proper placement of the kill switch is crucial for easy access during emergency situations, and may require drilling a hole in the cart chassis.
– Regular maintenance and checks on golf cart components, including the kill switch, are important for safety and functionality.
Why Use a Kill Switch?
You may be wondering why you need a cut-power kill switch for your golf cart. It’s important because it can prevent damage caused by short circuits or power surges and is crucial in emergency situations.When a short circuit occurs, it can cause damage to the cart’s electrical components, which can be costly to repair. Additionally, in emergency situations, such as an accident or if the cart loses control, the kill switch can quickly turn off the power flow, preventing further damage or accidents.
Another reason to use a kill switch on your golf cart is that it can also increase safety. If someone unauthorized tries to start the cart, the kill switch can prevent them from doing so, which can avoid accidents or theft. Plus, if you have children or inexperienced drivers using the cart, having a kill switch within reach can give you peace of mind that they can quickly turn off the power in case of an emergency.
Installing a cut-power kill switch is an easy and inexpensive way to ensure the safety of yourself, your passengers, and your golf cart.
Steps for Installation
Start by choosing a compatible kill switch and removing the battery cables to prepare for the installation process. It’s important to choose a switch that’s compatible with your golf cart’s electrical system and will fit in the desired location.Once you have the switch, put on gloves and goggles and remove the battery cables to prevent any electrical shocks or accidents. Next, clean the battery terminals and connect the switch wires to the battery terminals.
It’s important to decide on the switch location beforehand for easy access in case of an emergency. You may need to drill a hole in the cart chassis to install the switch and use tighteners or wire holders to hold the wires to the cart frame.
After installation, test the switch for proper operation by starting up the cart and hitting the kill power switch. If the switch doesn’t work properly, check the wiring connections by going back underneath the cart.
Proper installation of the kill switch can prevent accidents and damage, so seek expert help if you’re uncertain of the steps.
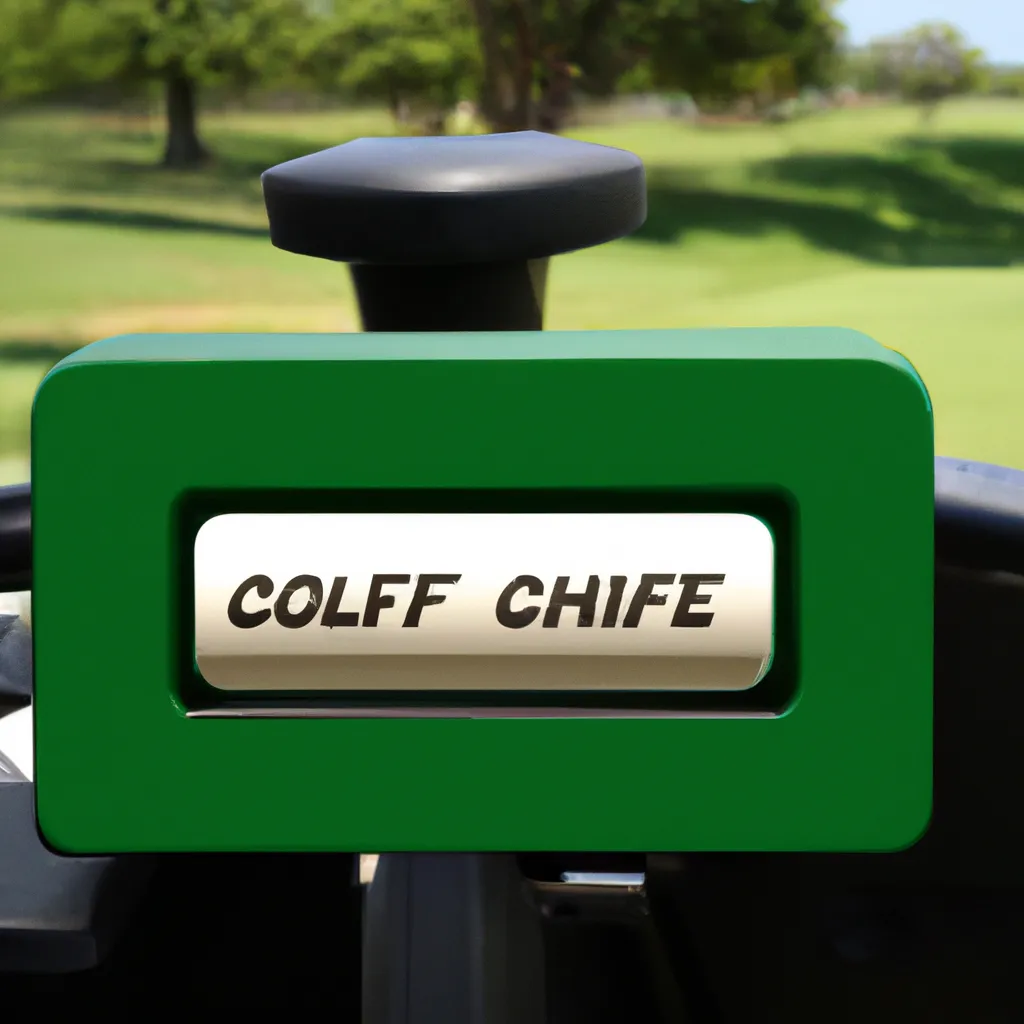
Proper Switch Placement
Imagine the panic you’d feel if you couldn’t reach the kill switch in an emergency situation. That’s why it’s important to carefully consider the proper placement of the switch. When installing a golf cart cut-power kill switch, it’s crucial to choose a location that’s within easy reach and covered to protect against accidental activation.The switch should be positioned in a way that allows for quick access during an emergency, without causing any delays or complications. One suggested location for the switch is on the lip of the bottom of the seat, but this will require drilling a hole in the cart chassis and pulling the wires through various parts of the cart to ensure proper positioning.
Tighteners or wire holders can be used to hold the wires to the cart frame, and a black marker can be used to measure out the hole location before cutting away plastic to create the switch hole. Once the switch is installed, it’s important to test it for proper operation by starting up the cart and hitting the kill power switch.
If the switch doesn’t work properly, check the wiring connections and make any necessary adjustments. Remember, the proper placement of the kill switch is crucial for your safety and the safety of others on the golf course.
Frequently Asked Questions
What are some signs that indicate a malfunctioning kill switch?
If your golf cart kill switch is malfunctioning, you may notice that the cart won’t turn off when the switch is hit or that it turns off unexpectedly. It’s important to regularly test the switch and check wiring connections to prevent accidents.
Is it possible to install a kill switch without disconnecting the battery?
You can install a golf cart kill switch without disconnecting the battery. However, it’s crucial to follow proper safety measures and seek expert help if uncertain. Always test the switch for proper operation before using it to prevent accidents.
Can any type of switch be used as a kill switch for a golf cart?
Yes, any type of switch can be used as a kill switch for a golf cart as long as it is compatible with the cart’s electrical system and can cut off power flow. However, it is recommended to use a switch specifically designed for golf carts for safety and functionality.
Are there any legal requirements for installing a kill switch on a golf cart?
There are no legal requirements for installing a kill switch on a golf cart. However, it is recommended to have one for safety reasons in case of emergencies. The installation process should be done carefully and properly to prevent accidents.
How often should the kill switch be tested for proper operation?
Test the golf cart kill switch for proper operation before each use. One interesting statistic – According to the US Consumer Product Safety Commission, there were 15,000 golf cart-related injuries in 2015. Stay safe by regularly checking all components, including the kill switch.
